

Zabbix
Today we focus on Zabbix, a powerful server monitoring resource.
Every system administrator must also monitor their servers to evaluate performance and functionality.
Indeed, activities for monitoring service functionality, upgrades, performance, etc., take time, and sometimes you may even find yourself staying busy longer than you thought or planned.
Zabbix is structured into a server component and a client part on which Agents are to be installed.
Imagining that the server component is installed on one machine or VM, it is necessary to install a Zabbix Agent on each of them to monitor other servers. Each agent sends information to the Zabbix server, which collects and processes it.
So you can monitor your resources, and Zabbix-if there are any anomalies-automatically sends alerts to the system administrator, who, thus, can take action.
Install Zabbix (server).
The first thing to do is install the Zabbix server component, which is preferable to do on a machine or VM that is external to the infrastructure we intend to monitor. This solution is motivated by the intent to avoid that if incidents (e.g., attacks or power failure) were to occur, monitoring of the server component would be interrupted, rendering the alert service to the sysadmin useless. Otherwise, by installing the Zabbix server outside your infrastructure to be monitored, it will notify the sysadmin in case of any incidents.
The official Zabbix Web site has instructions for installing both the server component and the agents; the reference documentation is also on the official site.
Identify the platform on which to install.
The official instructions dictate–of course–the identification of the characteristics of the platform on which you intend to install Zabbix.
Once you have selected the operating system’s characteristics, the database type (choosing between MySQL and Postgresql), and the web service you intend to use (Apache or NGINX), detailed installation instructions are automatically highlighted in the lower part of the page.
Once the server installation is completed, you can access the platform via browser and configure it.
In the configuration phase, it is decisive to create the “hosts” where the agents are or will be installed.
Then you have to select the Configuration item and then Hosts, and you will see the following image.

Click on the “Create host” button (top right), and the following window will open.
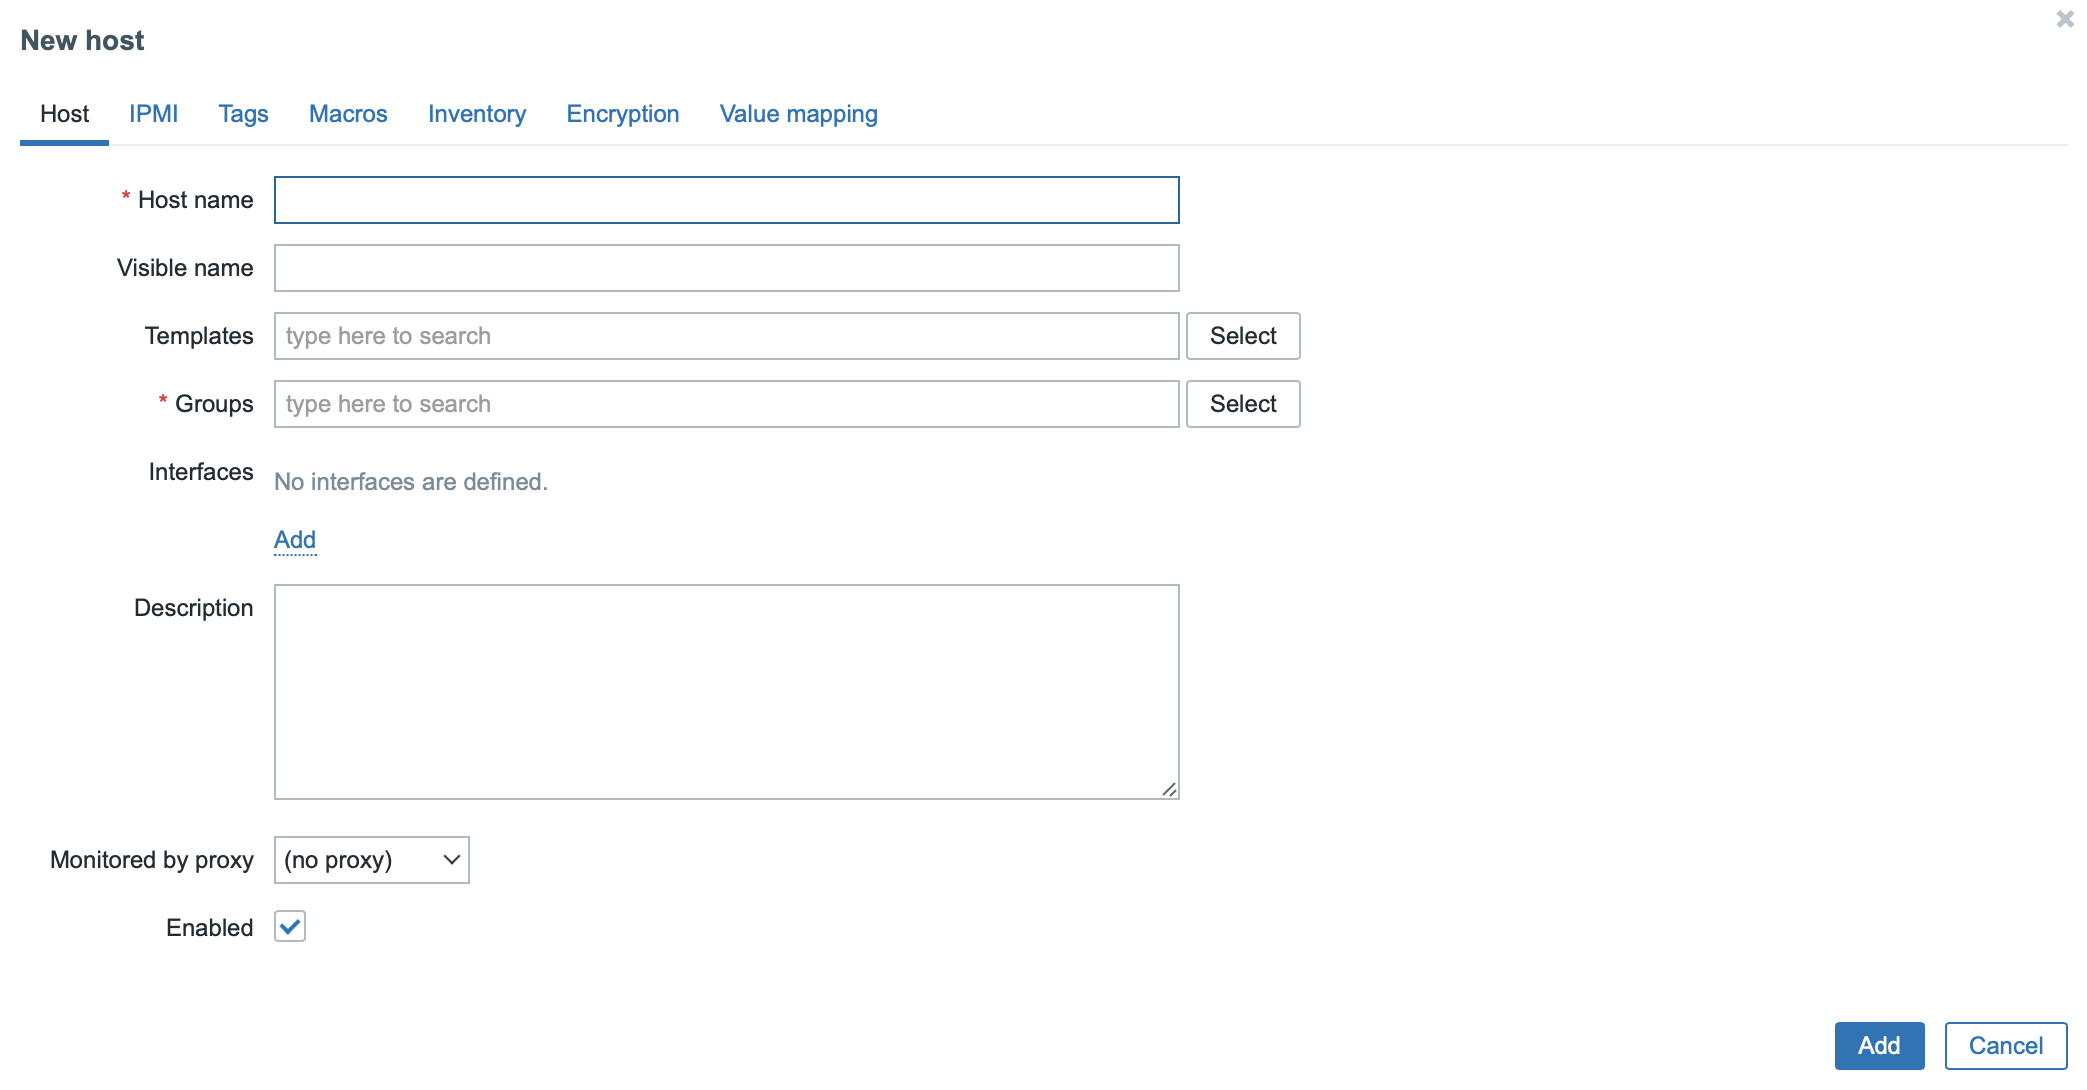
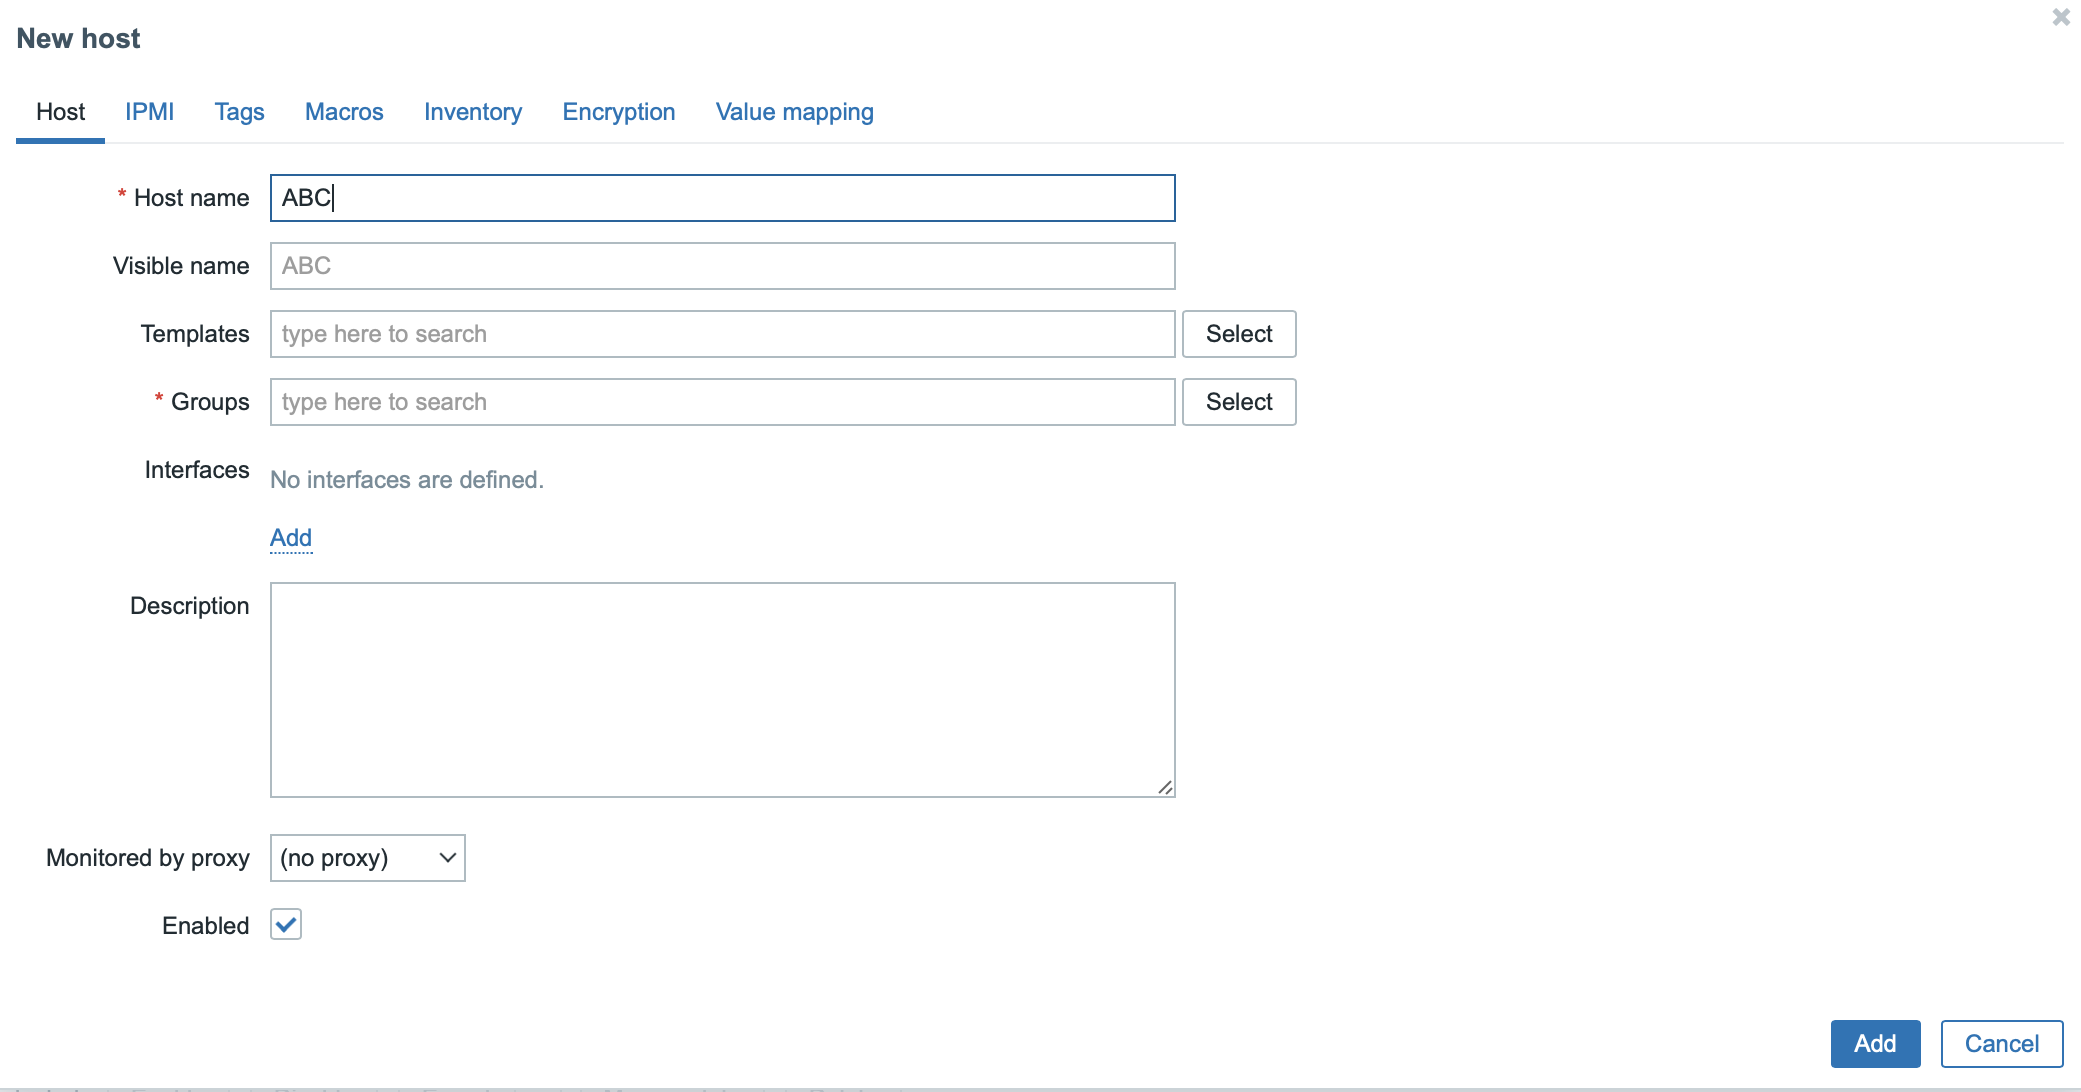
Then in the “Host name” field, write the name you intend to give to that host, as in the following image where, as an example, there is “ABC”
Installing the Agents.
The next step after installing the server component is installing the Agents, and official Zabbix instructions are available for this activity as well.
Configuring the Agents.
Once the agents have been installed, they need to be configured.
The configuration file zabbix_agentd.conf is installed in /etc/zabbix/, and therefore you will have to edit it by:
nano /etc/zabbix/zabbix_agentd.conf
The steps to be taken are as follows:
- at the end of the following block, add (in the block shown is already present)
Server=000.000.000.000where “000.000.000.000” is the IP address of the server on which Zabbix is installed.
### Option: Server
#       List of comma delimited IP addresses, optionally in CIDR notation, or DNS names of Zabbix servers and Zabbix proxies.
#       Incoming connections will be accepted only from the hosts listed here.
#       If IPv6 support is enabled then '127.0.0.1', '::127.0.0.1', '::ffff:127.0.0.1' are treated equally
#       and '::/0' will allow any IPv4 or IPv6 address.
#       '0.0.0.0/0' can be used to allow any IPv4 address.
#       Example: Server=127.0.0.1,192.168.1.0/24,::1,2001:db8::/32,zabbix.example.com
#
# Mandatory: yes, if StartAgents is not explicitly set to 0
# Default:
# Server=

Server=000.000.000.000
- at the end of the following block, add (in the block shown is already present)
Server=000.000.000.000where “000.000.000.000” is the IP address of the server on which Zabbix is installed.
### Option: ServerActive
#       List of comma delimited IP:port (or DNS name:port) pairs of Zabbix servers and Zabbix proxies for active checks.
#       If port is not specified, default port is used.
#       IPv6 addresses must be enclosed in square brackets if port for that host is specified.
#       If port is not specified, square brackets for IPv6 addresses are optional.
#       If this parameter is not specified, active checks are disabled.
#       Example: ServerActive=127.0.0.1:20051,zabbix.domain,[::1]:30051,::1,[12fc::1]
#
# Mandatory: no
# Default:
# ServerActive=

ServerActive=93.151.251.105
- at the end of the following block, add (in the reported block it is already present)
Hostname=nomeserveragentwhere “nomeserveragent” is the name given to the server on which the agent is installed during the configuration of the Zabbix server via browser.
### Option: Hostname
#       Unique, case sensitive hostname.
#       Required for active checks and must match hostname as configured on the server.
#       Value is acquired from HostnameItem if undefined.
#
# Mandatory: no
# Default:
# Hostname=

Hostname=nomeserveragent
In that way, the procedures are completed.
Many thanks to Friend Zac for the suggestion and support.
If this resource was helpful, you could contribute by
Or donate via
Follow us on Mastodon
Stay tuned!